As a matter of fact, this technique appeared back in the era of film photography, and quite accidentally. Sometimes in film cameras due to carelessness or unskilled actions of the photographer, there was a double exposure, that is, the light hit the same piece of film twice. This led to the appearance of quite unusual, artistic shots, so photographers took this technique for themselves. For multiple exposures, the photographer only needed to correctly determine the shutter speed for the final picture. Because if you just shoot a few frames on film with the usual exposure for each of them, the resulting picture will be re-emphasized or, on the contrary, darkened.
Of course, multiple exposures in film and digital photography are a few different things. After all, in modern devices, the first frame you shoot will be a digital file. But through the use of software, the camera is able to combine several such digital images to produce a multi-exposure effect. Of course, software algorithms can also make various adjustments to the process of this overlap, which expands the creative possibilities of the photographer. As for the shutter speed in the “digital” is much easier – you can take several frames with the optimal exposure for each of them, and the camera itself will combine them in the right way.
Most modern digital cameras have a multi-exposure function. So you can simply select the appropriate settings from the menu to create an unusual photo. However, there are limitations on the number of frames. In principle, this method requires at least two frames, but the maximum number of frames to be exposed is limited. In particular, on simpler cameras, there is a possibility of realization of multiexposure only on two-three shots. And in more advanced and expensive DSLRs this limit increases to five to ten shots. That is to say, the number of frames you use depends on the camera you use and your creative idea.
The shooting process itself looks pretty simple. But before you do that, you have to imagine what the final photo should look like. The main task when taking a picture is to ensure that all the main subjects are not lost in detail. For this purpose, you can apply shots where some, for example, will be the well-detectable fine texture of the object, and the other – the same object is photographed close-up. When combining, it is important to correctly combine the light and dark areas of the photo images, so that the lightest areas of one-shot were the darkest areas of the other.
Properly calculate the normal exposure for all frames. It is desirable that the second frame is taken with the same parameters as the first one. But if lighting conditions change when you take the second frame, of course, you must make changes to the exposure settings. It is important to note that when using the Multi-Exposure function, the camera only saves the final digital image, not the original single shots.
Using Multi-Exposure in Practice
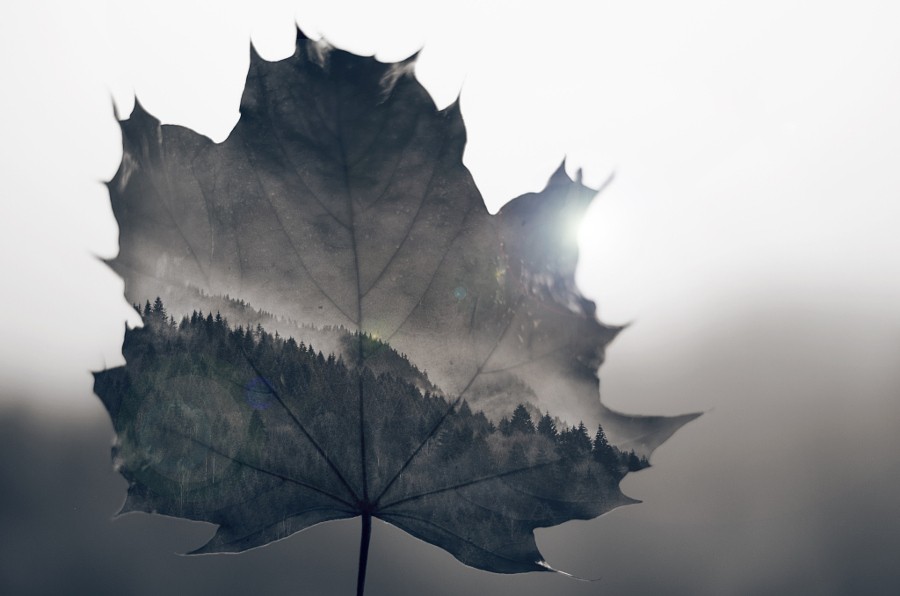
What’s the use of this technique, anyway? Such a question is surely asked by novice photography enthusiasts who are encountering this unusual technique for the first time. Multi-exposure should be used when you want to get an artistic frame with the effect of duplicating the subject or the transfer of dynamics. It is also useful to use this technique if you want to capture very brightly, saturated colors, or to increase the depth of field. In addition, multiple exposures can slightly reduce the effect of noise and improve the picture in terms of color saturation. This is especially true for landscape photographers. Of course, such effects can be achieved by simply using the software on your computer, but the process of taking pictures with multiple exposures is very enjoyable.
Want to create a photo with an interesting idea? Then use multiple exposures. However, to do so, you should first think about taking a picture. You can’t just combine two frames and get an interesting image. In practice, there are several methods of using multiple exposures:
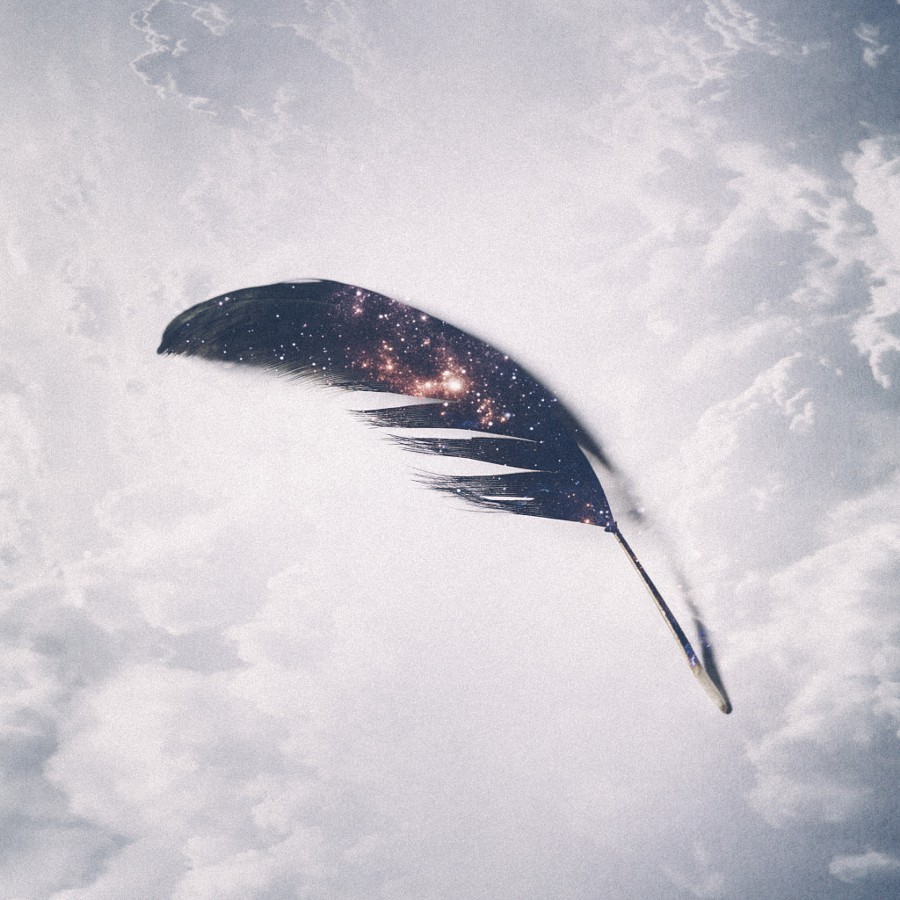
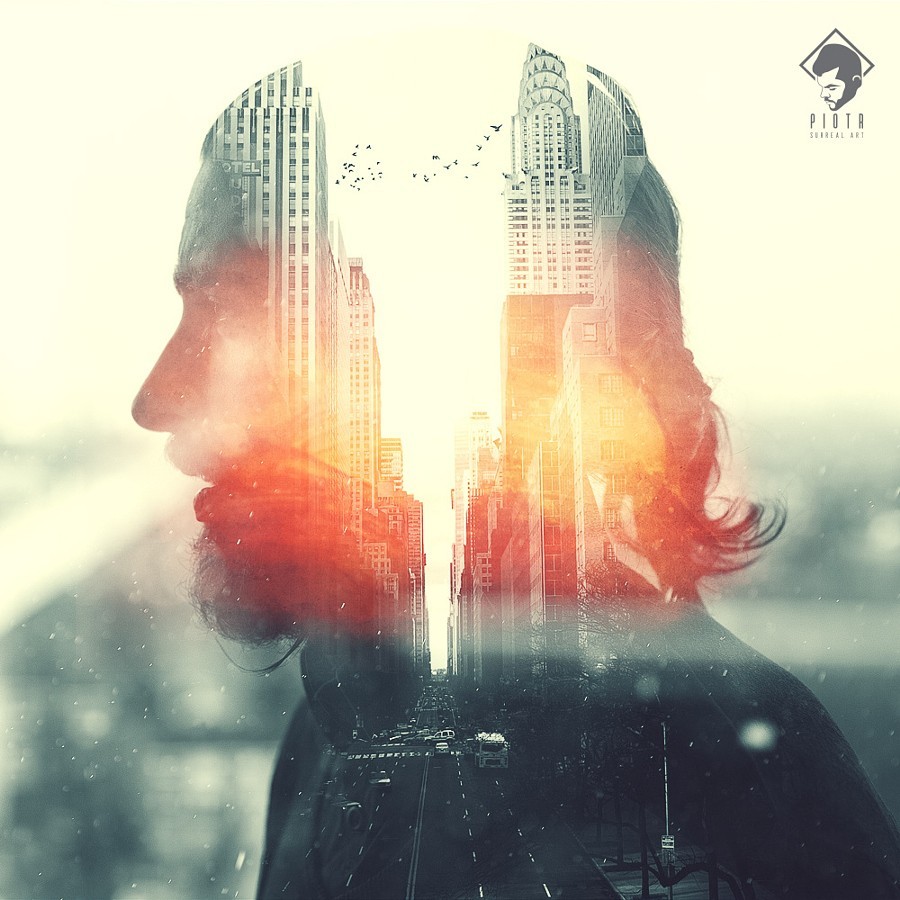
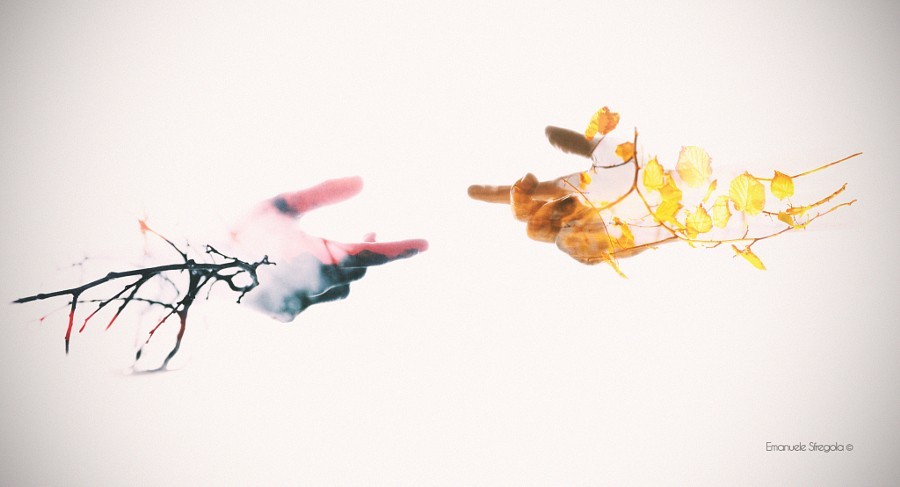
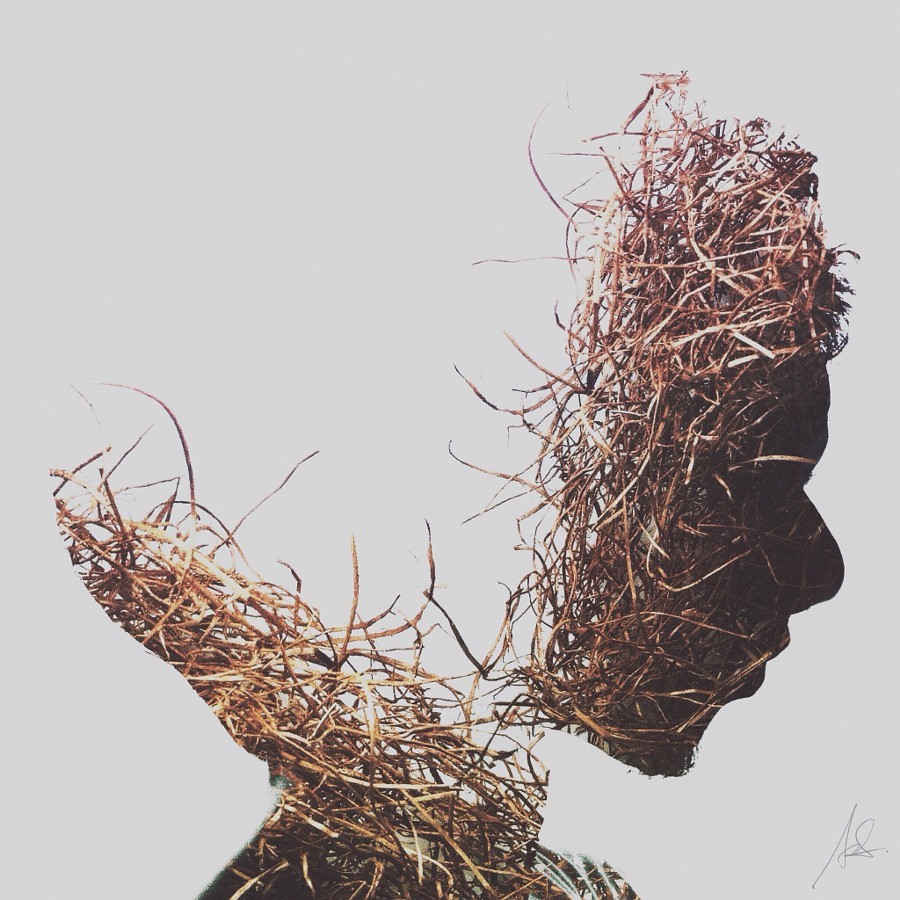
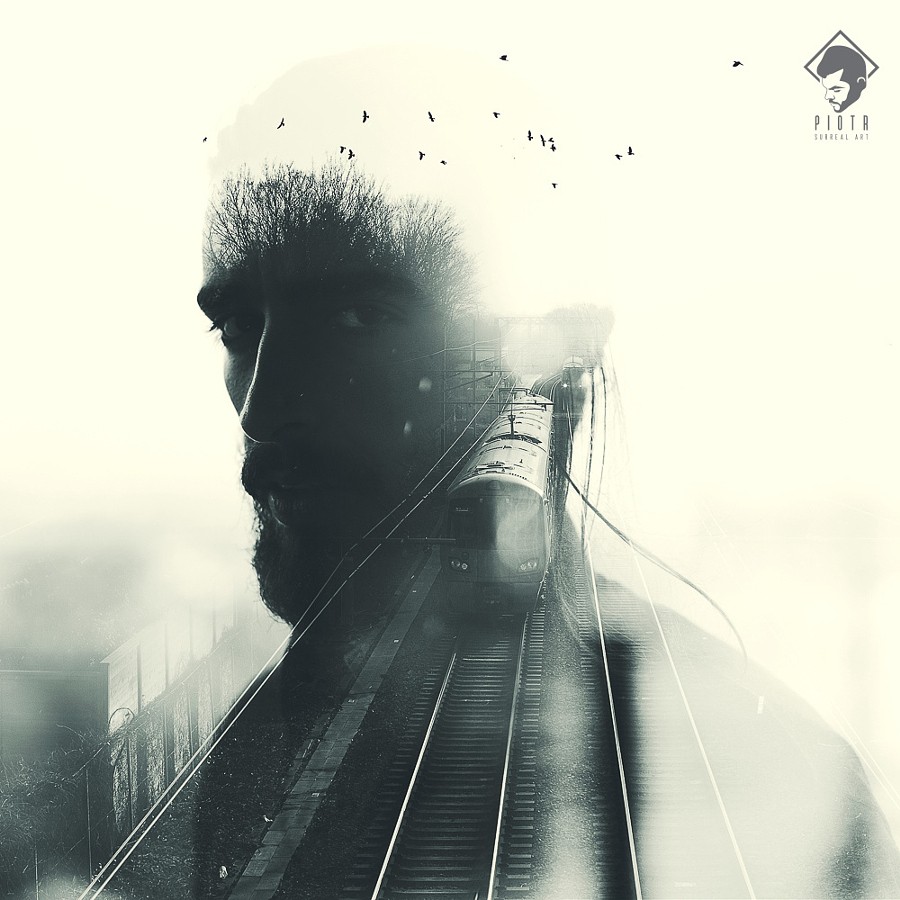
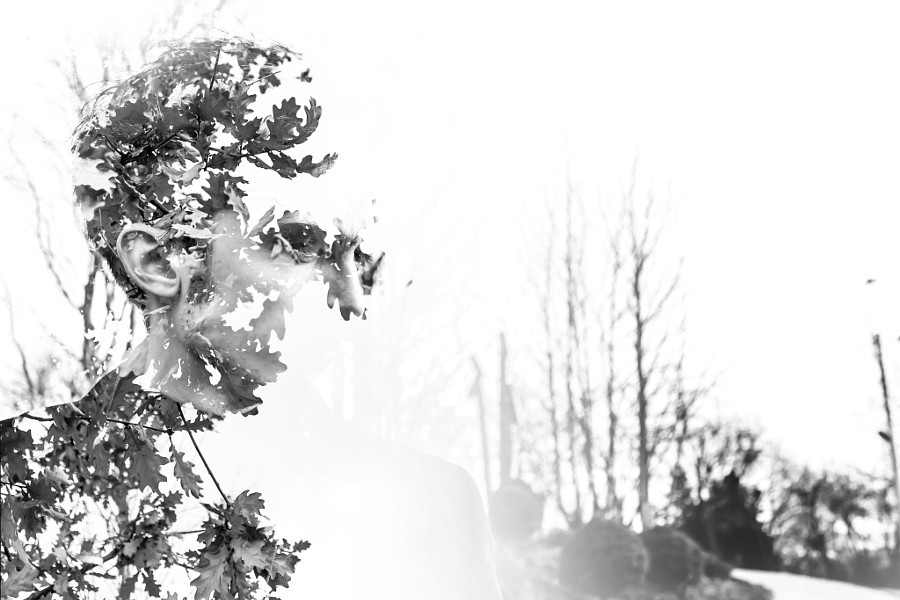
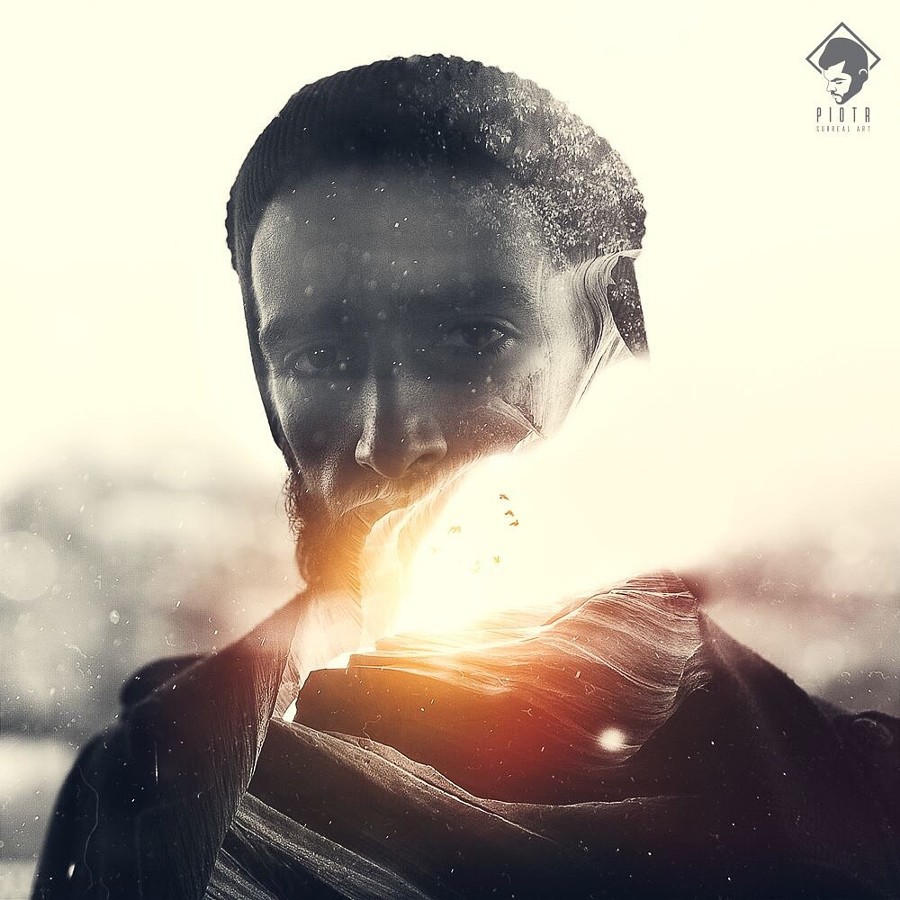
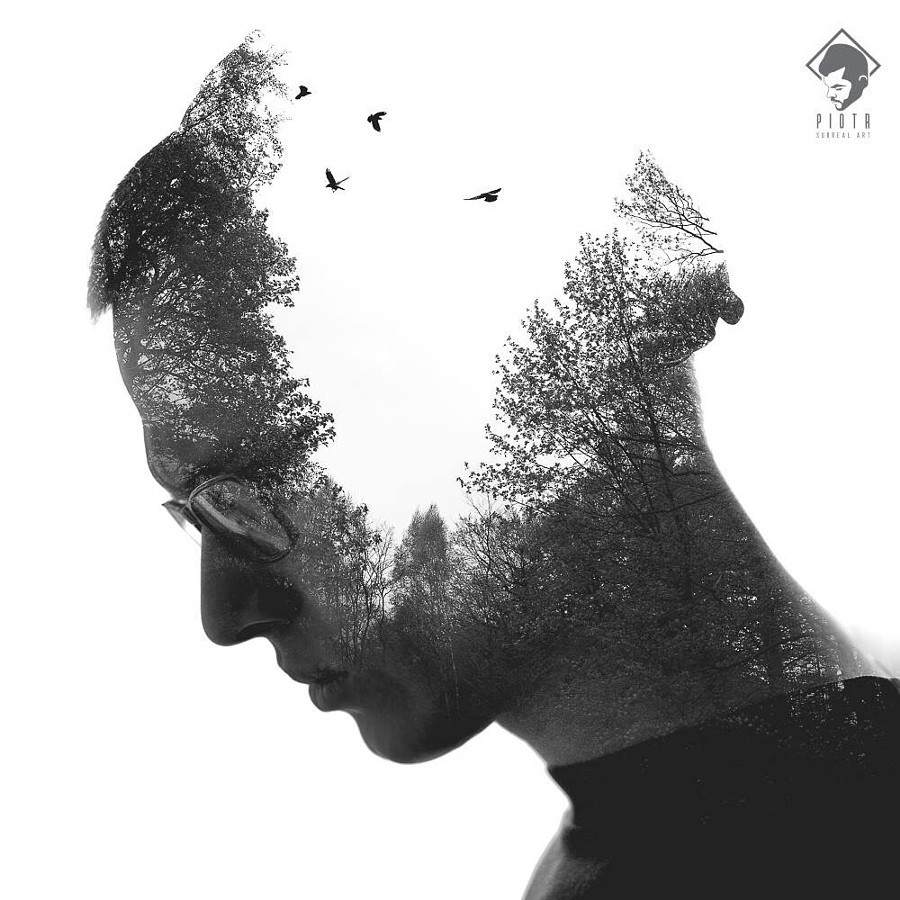
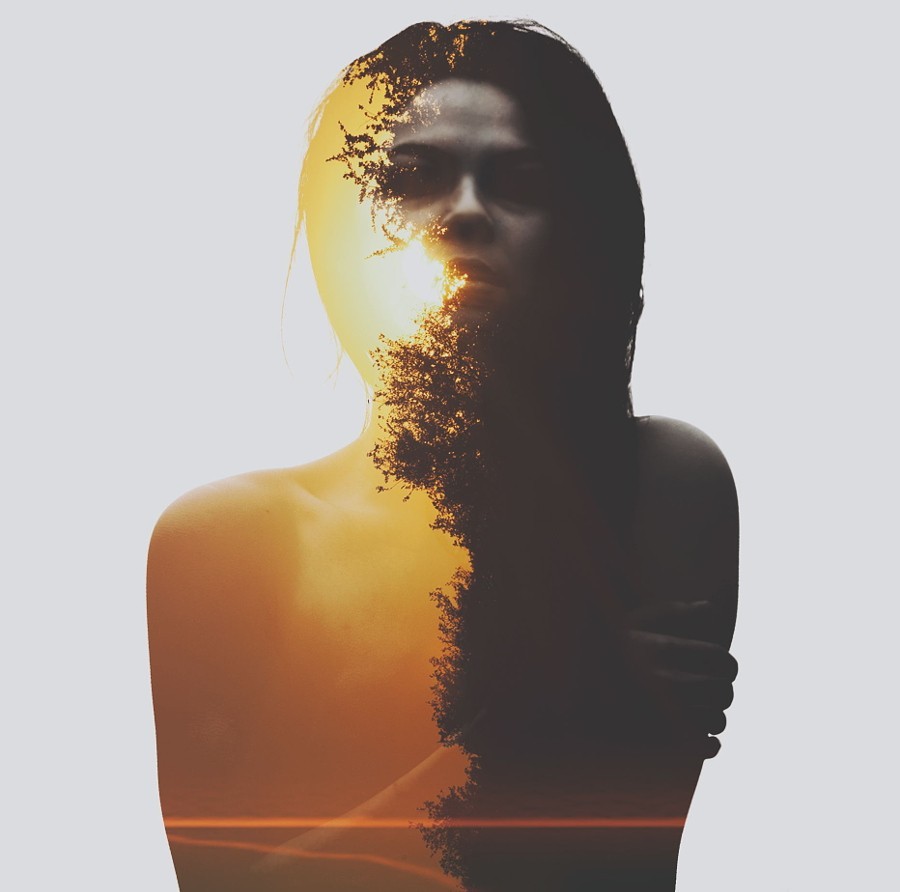
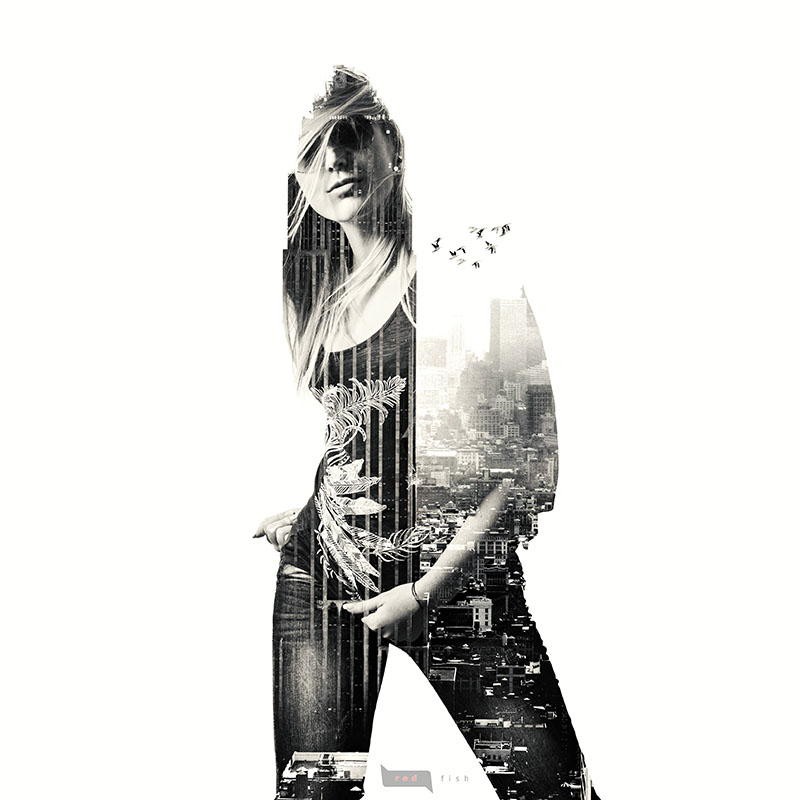
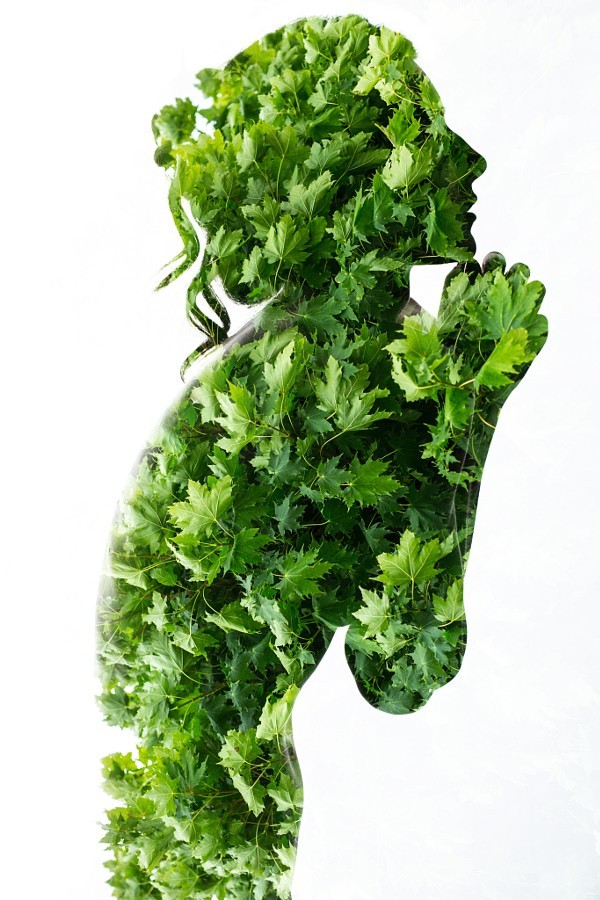
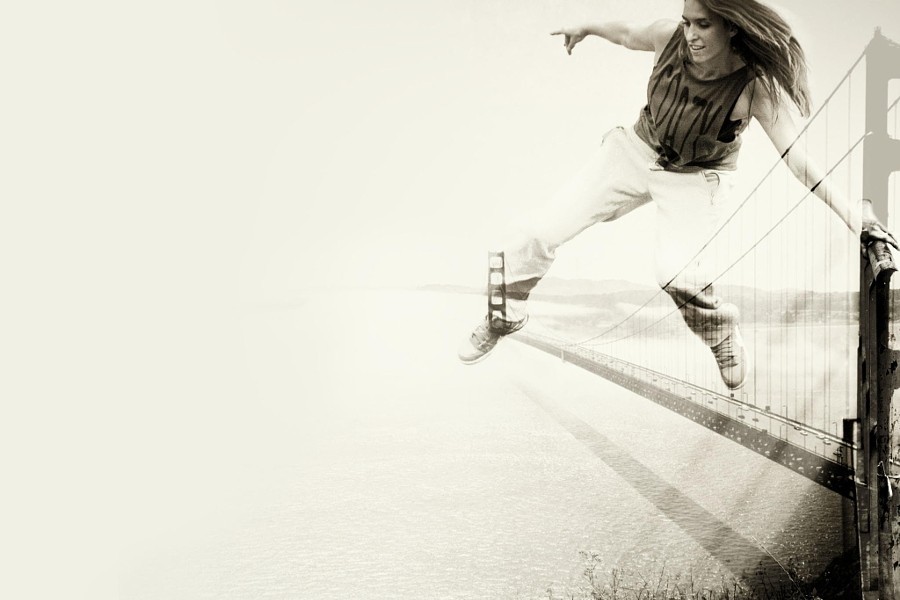
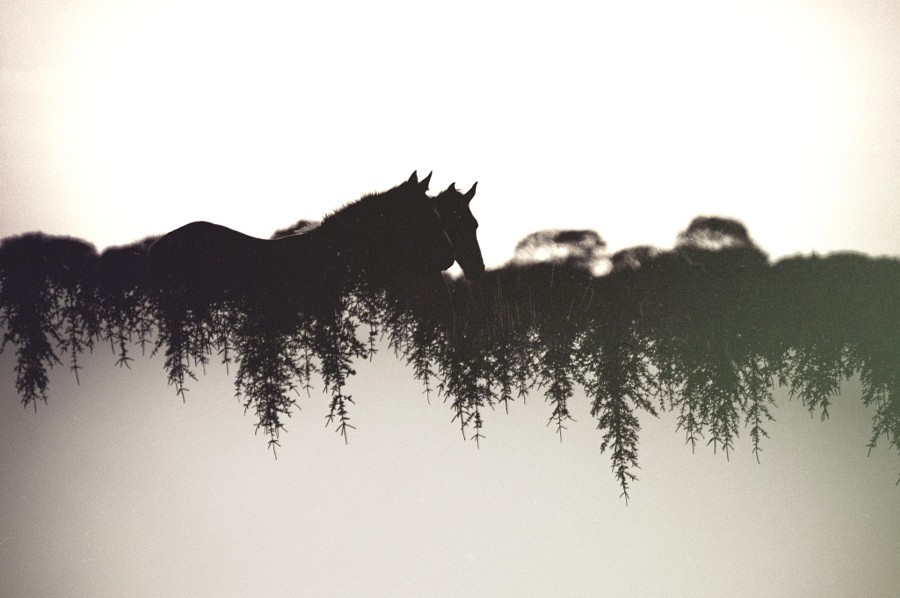
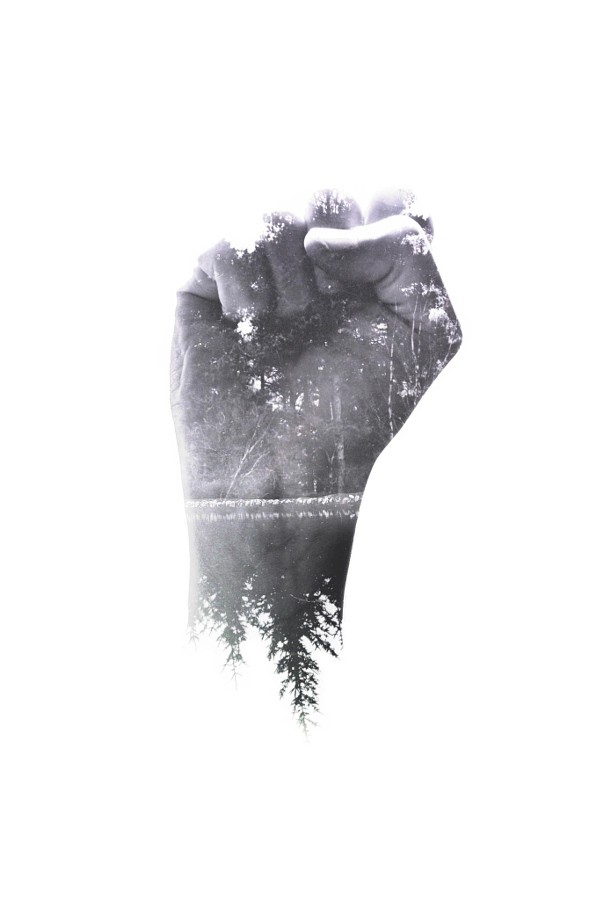
Multi-exposure of the same subject in the frame. This method makes sense to apply when you need to multiply or duplicate the subject in the photo image. It is also used to create a motion effect on an object, such as a machine.
Multi-exposure with different focus points. Multiple shots are taken with a fixed camera mounted on a tripod and the exposure settings remain the same. Only the focus point changes. The resulting image gets a fairytale or cartoon effect.
The focal length of each frame is different and the depth of field in the resulting image changes significantly. When using this technique, you can not only “play with the zoom”, but also use different optics to get more interesting effects. For example, you can use a standard portrait lens and a wide-angle lens when shooting.
Multi-exposure with different shutter speeds. In this case, only the camera’s shutter speed changes. This may be relevant, for example, when taking a night portrait with a flash. You can try shooting a single image from a tripod with short shutter speed when the person is in the frame. And another shot is taken at slow shutter speeds when the person being portrayed has left the frame for optimal exposure. In this way, both the person and the back scene in the final photo will be well defined.
The above-mentioned techniques are not the only ones, in fact, multi-exposure provides you with a huge variety of opportunities for obtaining interesting, original frames. The main thing is not to stop, to shoot and experiment all the time. You can start by combining two images, and then when you understand how the frames fit together and you want something new, you can start combining more images.
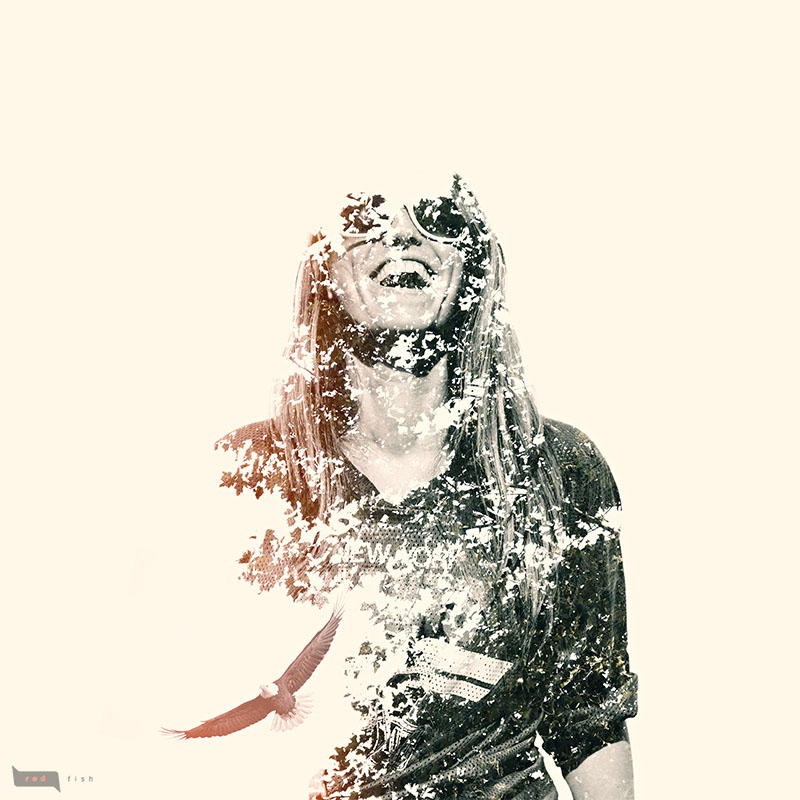
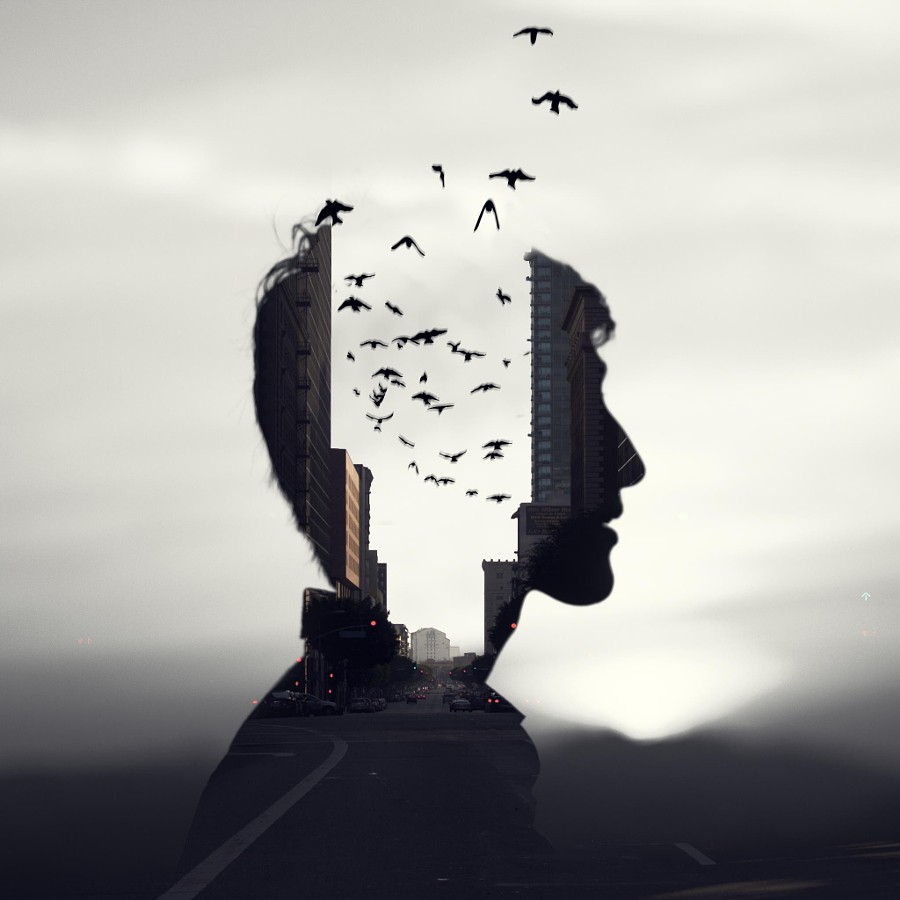
Mixing colors give you interesting results in multi-exposure. You can also achieve an unusual artistic effect by shooting studio portraits at full height and close-up, and then combining them into one. In general, the reception of multi-exposure allows you to create different abstractions and vivid artistic effects.
Multi-Exposure in the photo editor
Very good if you have a digital appliance with a multi-exposure function. This greatly simplifies the process of obtaining interesting, unusual pictures. But what if your camera doesn’t have this option, or if you only have two to three frames of exposure and you want to combine more images? Then a variety of image editors and programs will help you. You can implement the EE function with the software and have the images you need on hand. What’s more, using Photoshop and other editors allows you to gain more control over your photos and the process of aligning frames, thus eliminating some spontaneity in obtaining the final frames during normal shooting.
You also have a great opportunity to try to combine images from approximately the same scene on your computer, but shot at completely different times. That is, you don’t have to shoot a certain number of frames first for multiple exposures. You can simply experiment with images already stored on your computer, including very old photos that you did not plan to use for multi-exposure. In a photo shooter, you simply open one image, then copy another and expose it to a new layer in the first frame’s workspace. The combination of photos is achieved by using layers and transparency. You can flexibly control the overlay of photos by changing the transparency of the layers, using “soft light” or duplicating objects.

In conclusion, multi-exposure is a very creative technique that can be used to create unusual and abstract images. If you like to be creative in taking pictures and taking photos, then multi-exposure is a real discovery for you. All you have to do is practice and come up with original ideas for every shot to get really interesting and noteworthy results.