


So you find yourself with a wooden surface and you’re thinking that it would look pretty sweet if it was given a little sprucing up. Maybe it’s the dresser your great-grandfather made that has been in the family for generations. Maybe there’s a wicked chair you picked up at an antique parlor that needs a little shine. Maybe you hate the scratched up hardwood floors in your house, but are nowhere near financially prepared to have new flooring put in. The following six steps will break down what you need to do to bring new life to any wood surface.
Step One: Clean
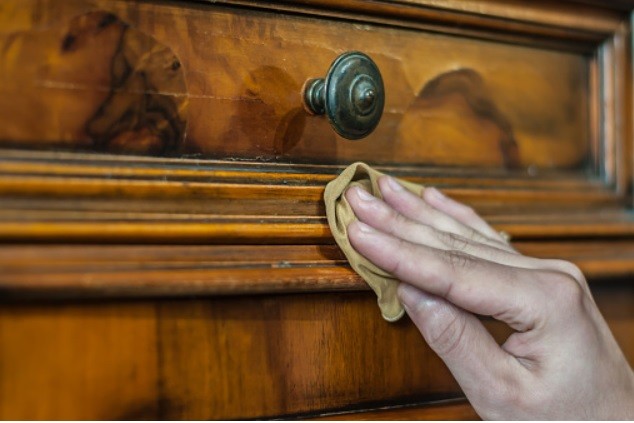
To begin, you’re first going to want to clean the wood surface using a cloth with soapy water. (You may even find that the wood is in far better shape than you previously thought). Make sure to rinse the soap off thoroughly and dry the wood with an absorbent towel. No matter what your aims are, ensuring the wood is dry before you begin the next step is crucial.
Step Two: Take A Look At The State Of The Wood
Give the wood a once over and decide how much work needs to be done. Does the piece just need a little brightening? Or are there deep marks that need to be addressed first? Are you thinking of altering the color of the wood via staining? Or do you like the current shade?
If any repairs are needed, now is the time to tackle them. You might also find that some deeper marks will require wood filling.
Step Three: Remove The Old Finishing
This step is optional depending on the state of the wood you’re working with, but if you don’t like the current color or texture of the piece, you’re going to find yourself sanding it down. This will also help get rid of mild surface scratches.
A word of caution, this is probably the most grueling part of the process. It’s likely going to take longer than you previously thought, especially if you’re working with something that has intricate shapes, like a banister or antique door with lots of details.
There are handheld electric sanders and industrial floor sanders if you’re working with a large surface. If you aren’t in the position to buy these tools, many building supply stores have these items for rent at a decent price. If you don’t want to rent the tools (and figure out how to transport an industrial sander in your little car), plain old sandpaper will work. Additionally, there are chemical stripping products available. These will help lighten the load, but you’re still going to have to do some sanding afterward.
Step Four: Fill and Seal The Wood
If there are deeper scratches, holes, or cracks in the wood, this is the time to use wood filler. Make sure that you allow any filler to dry completely before you carry on with your woodwork. And once it is dry, give it a quick sanding with some fine grit paper so the texture matches the rest of the piece when you’re done.
Depending on where the piece will be kept, you might want to prepare the wood for some extra wear and tear, using a sealant. This step will also create a nice smooth base for you to work with, this will also help fill any minor cracks or holes. As above, once the sealant is completely dry, use fine-grit sandpaper to smooth the surface.
When you’re finished with step four, make sure to wipe the wood down to get rid of any sawdust left behind. If sawdust stays put for the next stages, you’re going to end up with little bumpy grains permanently stuck to the wood. They won’t look good or feel nice to the touch. As above, make sure the piece is completely dry before carrying on.
Step Five: Stain or Paint The Wood
Apply whichever stain or paint you like and let it dry completely before applying any additional layers. Always follow the instructions on your specific paint or stain, but as a general rule, airflow is important during the staining phase. Keep the windows open, and if you are able, stain the piece out of doors. As well, wood stain poisoning is something you need to keep in mind if you have pets or young children around.
Step Six: Apply A Finish
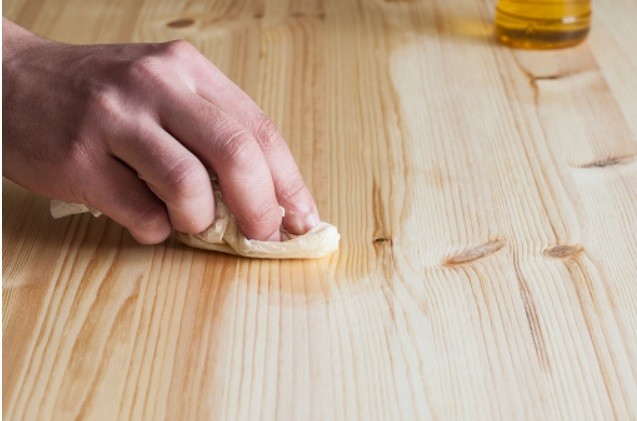
So by now, the piece is looking pretty snazzy. All you need to do is apply a wood finishing oil. This will protect the wood from future damage and moisture, keeping the piece looking lustrous for years to come. If the piece is going to be coming in contact with food, like a table or a countertop, you’re going to want to check that the finish you choose is food-safe.
There you have it, six simple steps to finishing wood surfaces. As with using any chemicals, make sure that you carefully read and follow the instructions provided when you purchase the product.
The art of caring for wood pieces is not only fun, but it can produce beautiful results. Results that make you want to invite friends over for dinner, or post pictures of your dog sleeping in the den on social media, or let your friend’s baby crawl over the no-longer splinter-filled deck.


